How to Set Up Priority-Based Ticket Automation: A Step-by-Step Guide
Priority-based ticket automation eliminates manual queue sorting by automatically routing, escalating, and assigning support tickets based on customer tier, issue severity, and business impact. This step-by-step guide walks support teams through building a complete automation framework compatible with major platforms like Zendesk, Freshdesk, and Intercom, ensuring critical tickets reach the right agents faster while improving response times and customer satisfaction.
When your support queue is flooded, not every ticket deserves the same urgency. But treating them all the same is exactly what kills response times and customer satisfaction. A critical enterprise customer locked out of their account sits in the same queue as a free-tier user asking how to change their profile picture, and your team has to manually sort through the chaos before anyone gets help.
Priority-based ticket automation solves this by automatically routing, escalating, and assigning tickets based on rules that reflect real business impact: who the customer is, what they're experiencing, and how quickly it needs to be resolved.
This guide walks you through building a priority-based ticket automation system from scratch. Whether you're working with Zendesk, Freshdesk, Intercom, or an AI-native support platform, the core framework is the same. By the end, you'll have a working automation layer that ensures your highest-impact tickets get handled first, without your team manually triaging every incoming request.
Here's what you'll walk away with: a tiered priority system with clear definitions, automated rules that classify and route tickets on arrival, escalation triggers that catch issues before they slip through, and a feedback loop that improves accuracy over time. Let's build it.
Step 1: Define Your Priority Tiers and What Triggers Each One
Before you touch a single automation rule, you need a shared definition of what "priority" actually means at your company. Without this foundation, your automation rules will be inconsistent, your agents will override them constantly, and you'll end up with the same manual triage problem you started with.
The most effective systems use three to four priority levels. More than that creates confusion and inconsistent classification. Here's a practical starting framework:
Critical: Business-stopping issues affecting paying customers. System outages, data loss, complete inability to access the product. These require immediate response regardless of time zone or queue depth.
High: Significant functionality impaired for paying customers, or any issue affecting enterprise accounts. The customer can partially use the product, but something important is broken. Think: a key integration failing, billing errors, or access issues for a specific feature.
Medium: Issues that are frustrating but not blocking. The customer can still do their work, but something isn't working as expected. How-to questions from paid users, minor UI bugs, and configuration questions often land here.
Low: General inquiries, feature requests, and questions from free-tier users. Important to respond to, but not time-sensitive in the same way.
Now map specific trigger signals to each tier. The most reliable signals include customer plan or account tier (enterprise vs. paid vs. free), issue type (outage vs. billing vs. feature request), specific keywords in the subject line or message body (words like "down," "can't login," "data loss," or "urgent" are strong indicators), existing SLA commitments in your contracts, and revenue at risk based on account size.
Document these definitions in a shared reference that both your automation rules and your human agents can use. Consistency is the goal. A good test: if you hand ten sample tickets to five different team members and ask them to classify each one, they should all arrive at the same answer without discussion. If they don't, your definitions need sharper boundaries.
One common pitfall to avoid: don't let "urgency feelings" drive your tier definitions. A customer who writes in ALL CAPS is expressing urgency, but that doesn't make their feature request a Critical ticket. Anchor your definitions to business impact, not emotional intensity. Understanding support ticket prioritization automation principles will help you build tiers that hold up under real-world volume.
Step 2: Audit Your Incoming Ticket Data for Automation Signals
Here's where many teams rush ahead and build rules before they understand what data they actually have. The result is automation that looks good on paper but misclassifies tickets constantly because the signals it relies on don't exist or aren't reliable.
Before writing a single rule, spend time analyzing what data actually arrives with each ticket. This typically includes the subject line, message body, the customer's email domain, their account plan (if your helpdesk is connected to your CRM), browser or device metadata, and any structured fields from your contact widget or intake form.
The critical question is: which of these signals are reliable, and which are noisy?
Customer-selected priority fields are often unreliable. When you ask customers to self-report urgency, many will select the highest available option regardless of actual severity. Account plan data pulled directly from your CRM or billing system, on the other hand, is highly reliable because it's objective and doesn't depend on customer judgment.
This is where integrating your helpdesk with your CRM and billing system pays significant dividends. If Stripe knows a customer is on your enterprise plan and HubSpot knows their account health score is declining, that context should automatically enrich every ticket they submit. Platforms like Zendesk, Freshdesk, and Intercom all support webhook and API integrations that make this possible. AI-native platforms like Halo AI have these connections built in natively, pulling plan data from Stripe and account health signals from HubSpot the moment a ticket arrives. Reviewing your support automation integration options early in the process ensures your data pipeline can actually support the rules you want to build.
Map out your data gaps explicitly. If you can't reliably identify a customer's plan at ticket creation time, your automation will misclassify enterprise customers as standard users and vice versa. Fix the data pipeline before you build the rules. Common gaps include tickets submitted from generic email addresses that don't match CRM records, missing form fields in your contact widget, and helpdesk accounts that aren't linked to CRM contacts.
A practical exercise: pull a sample of 20 recent tickets and manually check whether the data fields that arrived with each ticket would have correctly classified the priority without any human review. This audit will quickly surface where your pipeline is solid and where it has holes that need patching before automation can work reliably.
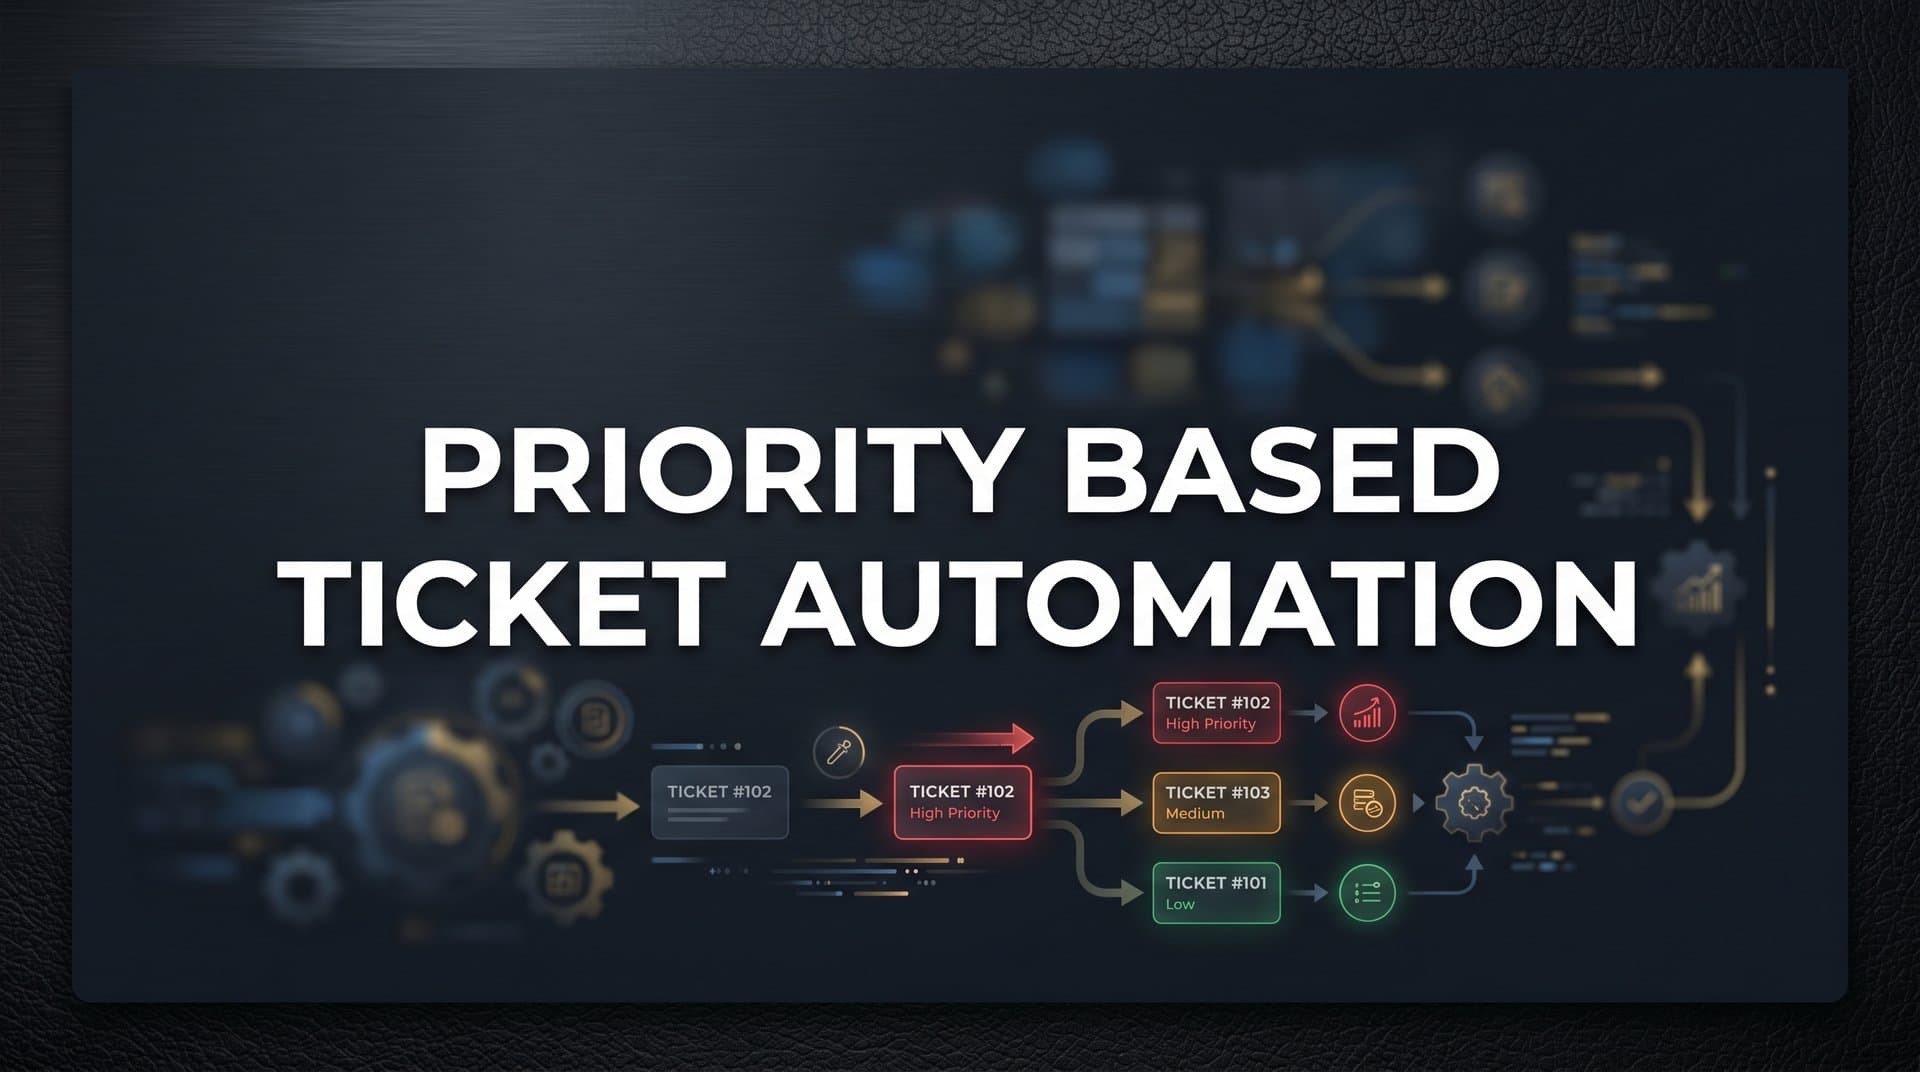
Step 3: Build Your Core Classification Rules
With your priority definitions documented and your data audit complete, you're ready to build rules. The key principle here is to start with your most reliable, highest-confidence signals and build outward from there.
Your most reliable signals are typically: customer account tier (pulled from your CRM), specific keywords that indicate outages or data loss, and tickets flagged by integrated monitoring tools. Start with these before adding more complex conditions.
Use an AND/OR logic framework to structure your rules clearly. For example:
Critical rule: Trigger when (subject or body contains "outage" OR "down" OR "data loss" OR "can't access") AND (account plan equals "enterprise" OR "paying customer").
High rule: Trigger when (subject or body contains "broken" OR "not working" OR "error") AND (account plan equals any paid tier).
Medium rule: Trigger when (account plan equals any paid tier) AND (no Critical or High rule matched).
Low default: Anything that doesn't match a higher rule, or tickets from free-tier accounts without urgent keywords.
In Zendesk, these map to Triggers and Automations. In Freshdesk, you'll build these in the Workflow Automator. Intercom handles this through its Workflows feature. The logic is the same across platforms; the interface differs.
Here's where AI-assisted classification adds meaningful value. Keyword matching catches "can't login" but misses "the authentication system seems to be having issues." AI can interpret intent from the message body more accurately than static keyword rules, catching tickets that use unexpected phrasing or describe the same problem in different ways. If your platform supports AI classification, layer it in as a complement to your rule-based logic, not a replacement for it. Exploring the support ticket categorization automation approaches available today will help you choose the right combination of rule-based and AI-driven classification for your stack.
One critical rule: set a default priority for anything that doesn't match. Never leave tickets unclassified. If a ticket doesn't trigger any of your rules, it should automatically receive Medium or Low priority rather than sitting in a limbo state that agents have to manually address.
Avoid the temptation to build 20-plus conditions into a single rule. Over-engineered rules become maintenance nightmares, and when they break, they're difficult to debug. Build five to eight core rules that handle the majority of your ticket volume, then refine based on what you observe in production. Before going live, run your rules against the last 30 days of historical tickets and check the classification accuracy. This dry run will reveal gaps before they affect real customers.
Step 4: Configure Automated Routing and Assignment Logic
Classification tells you what a ticket is. Routing determines what happens to it next. This step is where priority-based ticket automation starts delivering visible results for your team.
The routing logic should match the urgency of each tier. Critical tickets should route immediately to your most senior available agent or a dedicated escalation queue. These tickets should never enter a general round-robin pool where they might wait behind lower-priority issues. High tickets should route to specialized teams based on issue type: billing issues to your billing specialists, technical integration problems to your technical support team.
Medium and Low tickets are where automation creates the most capacity. Many of these requests, including password resets, how-to questions, billing lookups, and basic configuration help, can be fully resolved by an AI agent without any human involvement. Routing these tiers to AI agents frees your human team to focus entirely on Critical and High tickets where their expertise is actually needed. The repetitive support tickets automation playbook covers exactly how to identify and offload this high-volume, low-complexity work.
Skills-based routing adds another layer of precision for technical complexity. If a ticket mentions a specific integration, API behavior, or enterprise feature, it should route to an agent with relevant expertise rather than the next available person in the queue. Zendesk's routing documentation and Freshdesk's automation guides both cover skills-based assignment configuration in detail.
Build availability logic into your routing from the start. If the assigned agent is at capacity, or if the escalation queue is full, define a fallback path. Tickets that pile up silently because their assigned queue is overwhelmed are one of the most common failure modes in support automation. Fallback routing might mean a secondary agent, a team lead, or a temporary holding queue with a notification trigger.
Platforms like Halo AI take this further with page-aware context. When a user submits a ticket, the system captures what page they were on, what they were doing, and what they saw, adding a layer of classification signal that pure text analysis misses. A ticket submitted from your API documentation page carries different context than the same message submitted from your billing settings page.
Your success indicator for this step: no Critical or High ticket should sit unassigned for longer than your defined SLA window after creation. If you can verify this is consistently true after going live, your routing logic is working.
Step 5: Set Up Escalation Triggers and SLA Breach Alerts
Automation doesn't end at assignment. The next layer is escalation: what happens when a ticket isn't resolved or responded to within the time window you've committed to?
Time-based escalation rules are the foundation. Define your SLA windows for each priority tier, then build rules that fire when those windows are approaching or have been breached. A practical escalation chain looks like this:
1. First response SLA approaching (for example, 80% of window elapsed): notify the assigned agent with a reminder.
2. First response SLA breached: notify the team lead with ticket context.
3. Second SLA breach or no resolution within extended window: notify the support manager with a full ticket summary and customer account details.
Beyond time-based triggers, build condition-based escalation rules that catch issues your SLA clock might miss. Sentiment shifts in follow-up replies are a strong signal: if a customer who submitted a Medium ticket replies with language expressing significant frustration or mentions considering cancellation, that ticket should escalate regardless of where it sits in the SLA window. Multiple replies without resolution, or a ticket that gets closed and immediately reopens, are also reliable escalation signals.
Connect your escalation alerts to where your team actually works. A notification that lives only inside your helpdesk will be missed. Route Critical ticket alerts to Slack in real time, where agents and team leads will see them immediately. For High-tier SLA warnings, a digest summary (rather than individual notifications) reduces noise while keeping the team informed. Following support ticket automation best practices for alert design will help you strike the right balance between visibility and noise.
This brings up one of the most important pitfalls in escalation design: alert fatigue. If every ticket triggers a Slack notification, agents will start ignoring them, and the alerts lose their value entirely. Reserve real-time, high-visibility alerts for Critical tickets only. Use digest summaries or in-app notifications for High-tier warnings. Medium and Low tiers should surface in your analytics dashboard, not in real-time alerts.
Halo AI's native Slack integration handles this distinction automatically, routing Critical escalations as direct Slack messages while surfacing High-tier SLA summaries in a dedicated channel rather than flooding individual agents.
Your success indicator: your team should be able to demonstrate that no Critical ticket has breached its SLA without triggering an escalation alert in the past 30 days. If that's true, your escalation layer is doing its job.
Step 6: Test, Measure, and Refine Your Automation Rules
Going live with automation is not the finish line. It's the starting point for a continuous improvement cycle that makes your priority-based ticket automation genuinely accurate over time.
Start with a two-week parallel test before fully committing. Let your automation classify and route tickets, but also have agents manually review each ticket and flag any disagreements with the automated classification. Track these misclassifications by ticket type, by source, and by which rule (or lack of rule) caused the error. This data is invaluable for your first round of refinements.
The key metrics to monitor after launch are: first response time broken down by priority tier, SLA compliance rate for each tier, misclassification rate (the percentage of tickets that agents manually re-prioritized after automation assigned them), AI resolution rate for Medium and Low tiers, and escalation frequency by tier. Establishing a clear framework for measuring support automation success before launch gives you a baseline to compare against as you refine your rules.
Use your helpdesk analytics or a BI layer to identify patterns in misclassified tickets. They often reveal one of two things: a missing rule that would cover a new issue type you hadn't anticipated, or an unreliable signal you're over-weighting in your existing rules. For example, if the keyword "urgent" is triggering Critical classification for tickets that agents consistently downgrade to Medium, that keyword may be too noisy to use as a primary signal.
Schedule a monthly rule review as a standing calendar event. As your product evolves, new issue types emerge and old keywords become irrelevant or misleading. A keyword that reliably indicated an outage six months ago might now describe a deprecated feature that nobody uses. Automation rules need maintenance like any other piece of infrastructure.
AI-powered platforms accelerate this refinement cycle significantly. Halo AI's smart inbox learns from agent behavior over time, surfacing which tickets were reclassified most often and suggesting rule adjustments based on observed patterns. Instead of manually auditing misclassification logs, the system flags the patterns for you and helps you understand why they're happening.
The ITIL v4 framework, which defines incident prioritization using impact-times-urgency matrices, recommends regular review cadences for classification rules as part of standard service management practice. The principle applies directly here: treat your automation rules as living documentation, not a one-time configuration. Tracking your support automation success metrics month over month is what turns a good initial setup into a continuously improving system.
Your success indicator for this step: misclassification rate should drop meaningfully within 60 days of launch, and first response time for Critical tickets should show clear improvement compared to your pre-automation baseline. If both are moving in the right direction, your feedback loop is working.
Your Priority Automation Checklist and Next Steps
Priority-based ticket automation isn't a set-it-and-forget-it system. It's a living framework that gets sharper as your team refines it. Here's your quick-reference checklist to confirm you've covered every layer before calling this system production-ready:
Priority tiers defined: Clear, business-impact-based criteria documented and shared with the full team.
Incoming ticket data audited: Data pipeline reviewed, gaps identified, and CRM or billing context enrichment configured.
Core classification rules built: Using reliable signals, AND/OR logic, and AI-assisted classification where available, with a default priority for unmatched tickets.
Automated routing configured: By tier, with skills-based routing for technical complexity and AI agents handling lower-priority volume.
Escalation triggers and SLA breach alerts active: Connected to team communication tools, with alert fatigue controls in place.
Metrics tracking in place: With a scheduled monthly review cadence and a misclassification log for ongoing refinement.
The teams that get the most from ticket automation are those that treat it as infrastructure, not a one-time project. Investing a few hours each month to review misclassifications and tune rules pays back consistently in agent capacity and customer satisfaction.
Your support team shouldn't scale linearly with your customer base. Let AI agents handle routine tickets, guide users through your product, and surface business intelligence while your team focuses on complex issues that need a human touch. See Halo in action and discover how continuous learning transforms every interaction into smarter, faster support.