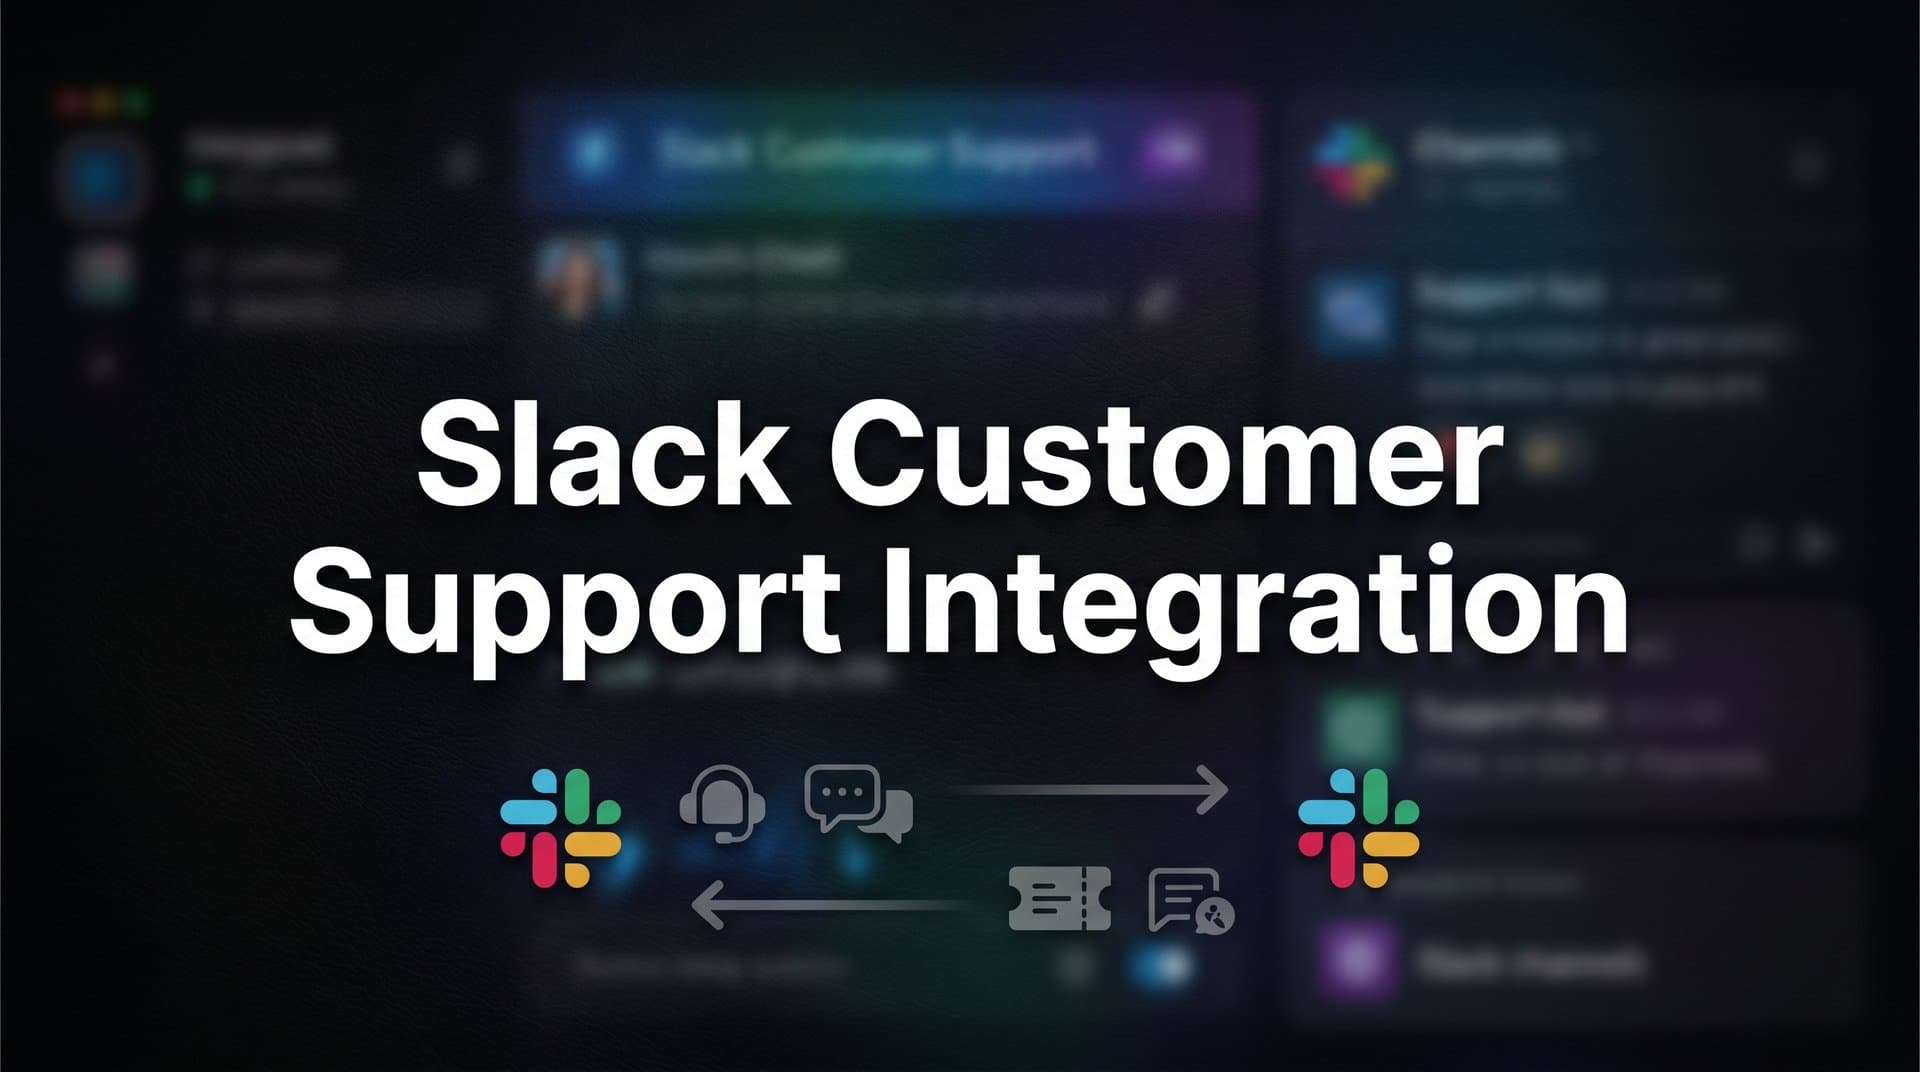
How to Set Up Slack Customer Support Integration: A Step-by-Step Guide
Setting up a Slack customer support integration eliminates constant tab-switching by routing tickets directly into Slack channels, enabling agents to collaborate in threads and sync replies back to their helpdesk automatically. This step-by-step guide walks support teams through six concrete steps to configure a workflow that reduces context-switching and lets agents resolve customer issues without ever leaving Slack.
Your support team lives in Slack. That's just the reality of modern work. But your tickets live in Zendesk, Freshdesk, or Intercom, and every time an alert comes in, someone has to stop what they're doing, switch tabs, find the ticket, respond, and then try to remember where they were. Multiply that by dozens of tickets a day and you've got a team that's perpetually context-switching instead of actually solving problems.
The fix isn't asking your team to change their habits. It's bringing the work to where they already are.
A well-configured Slack customer support integration does exactly that. When it's set up properly, tickets route to the right channel automatically, agents can collaborate on issues in threads, replies sync back to the helpdesk without anyone leaving Slack, and automation handles the repetitive volume before it ever reaches your team.
That's what this guide will help you build. You'll walk through six concrete steps: choosing the right integration model for your stack, preparing your Slack workspace and helpdesk account, installing and authorizing the connection, configuring routing rules and notification logic, enabling two-way sync so agents can respond directly from Slack, and layering in automation to reduce manual triage.
By the end, you won't just have Slack notifications for new tickets. You'll have a support workflow where agents stay in flow, nothing falls through the cracks, and your tooling does more of the heavy lifting.
One note before we dive in: teams using AI-native support platforms get significantly more from this setup. When Slack is one node in a broader AI-orchestrated workflow rather than just a notification endpoint, you can configure the AI to resolve common tickets autonomously and only surface to Slack when a human genuinely needs to be involved. We'll cover that throughout the steps where it's relevant.
Let's build it.
Step 1: Choose the Right Integration Approach for Your Stack
Before you install anything, you need to make a decision that will shape everything downstream: how are you connecting Slack to your support system? There are three main models, and choosing the wrong one means rebuilding later.
Native Helpdesk Slack Apps: Zendesk, Freshdesk, and Intercom all offer first-party Slack integrations through their respective app marketplaces. These are the easiest to set up and require no code, but they're built around the helpdesk's feature set. If you're already committed to one of these platforms and your needs are relatively straightforward, a native app is the fastest path to value.
Third-Party Middleware (Zapier, Make): If your helpdesk doesn't have a native Slack app, or if you need custom logic that the native app doesn't support, middleware tools let you build your own connection. You define the trigger (a new ticket is created), the conditions (priority is high, tag is billing), and the action (post to #support-escalations). It's more flexible but requires more maintenance and can introduce latency.
AI-Native Platforms: Platforms like Halo connect Slack natively as part of a broader integration layer that also includes tools like Linear, HubSpot, Stripe, and Intercom. The key difference here is that Slack isn't the endpoint; it's one channel in an AI-orchestrated workflow. The AI agent handles ticket triage, resolution, and escalation, and only routes to Slack when human judgment is genuinely needed.
To pick the right model, answer these questions honestly before moving forward:
1. Do you need bi-directional sync? If agents need to reply to tickets from Slack (not just see notifications), you need either a native app that supports replies or an AI-native platform. Middleware can technically do this but it gets complicated fast.
2. Do you need AI triage before tickets hit Slack? If your ticket volume is high, routing everything to Slack will create noise that gets ignored. AI triage before Slack escalation is worth serious consideration.
3. How many tools does your support workflow touch? If you're just connecting one helpdesk to Slack, a native app works. If you need context from your CRM, billing system, or project tracker when handling tickets, an AI-native platform with multi-system context is the better architectural choice.
Success indicator: You've selected an integration model, identified which tools you'll connect, and confirmed you have admin access to both platforms. Write this down. The rest of the steps build on this decision.
Step 2: Prepare Your Slack Workspace and Helpdesk Account
A little preparation here saves a lot of headaches later. The most common setup mistake isn't a technical failure; it's routing tickets to the wrong channels and realizing three weeks in that nobody is watching them.
On the Slack side, start with your channel structure. Create dedicated channels for different ticket types or priority levels before you connect anything. A few patterns that work well:
#support-alerts: All new tickets above a certain priority threshold. This is your main triage channel.
#support-escalations: Complex issues that need senior agent attention or manager involvement.
#bug-reports: Issues identified as potential bugs, which may need to be routed to engineering.
The specific names don't matter. What matters is that each channel has a clear purpose, a defined audience, and someone responsible for monitoring it. If you route everything to one channel, or worse, to #general, the notifications will become background noise within days.
You'll also need Slack workspace admin access to install apps and configure permissions. If you're not the admin, loop in whoever is before you get to Step 3. Nothing slows down an integration project like hitting an authorization wall mid-setup.
On the helpdesk side, gather the following before proceeding:
1. API access enabled: Most helpdesks require you to explicitly enable API access in your account settings. Find this in your admin panel and turn it on if it isn't already.
2. Admin credentials: You'll need admin-level access to install integrations and configure routing rules. Read-only access won't be enough.
3. Webhook URLs or OAuth tokens: Depending on your integration method, you'll need one of these. Webhooks are one-way (they post data to Slack but can't read from it). OAuth tokens enable read and write access, which is required for bi-directional sync. Document these somewhere secure before you start.
One pitfall worth calling out explicitly: do not skip the channel planning step and just connect to an existing channel to "test it quickly." Tests have a way of becoming permanent configurations, and a support integration routing to the wrong channel is the kind of thing that annoys your entire company and makes the support team look disorganized.
Success indicator: Your dedicated Slack channels are created, API credentials are documented, and you have confirmed admin access on both platforms. You're ready to connect.
Step 3: Install and Authorize the Integration
This is where the actual connection happens. The process varies by integration model, so follow the path that matches what you chose in Step 1.
For native helpdesk integrations (Zendesk, Freshdesk, Intercom):
Navigate to your helpdesk's app marketplace or integrations gallery. Search for "Slack" and find the official integration. Click Install or Add to Slack, and you'll be redirected to a Slack OAuth authorization screen.
Pay attention to the permission scopes on that screen. Most support integrations request some combination of the following real Slack OAuth scopes: channels:read (lets the integration see your channel list), chat:write (lets it post messages), and incoming-webhook (enables one-way posting to a specific channel). If the integration needs bi-directional sync, it will also request broader read permissions.
Don't rush through the permissions screen. Each permission exists for a reason. If you're unsure what a scope does, look it up before approving it. And if an integration requests permissions that seem excessive for its stated purpose, that's worth questioning.
After authorization, you'll typically be redirected back to your helpdesk to complete the configuration. Select the Slack workspace you authorized, choose the default channel for notifications, and save.
For AI-native platforms like Halo:
Navigate to the integrations dashboard and find Slack in the available connections. The authorization process is similar (OAuth, permission approval), but the context is different. You're not just connecting Slack in isolation; you're adding it to a network that may already include Linear, HubSpot, Stripe, or other tools. This means the AI agent will have business context from across your stack when it's deciding how to handle a ticket, not just the ticket data itself.
Connect Slack here the same way you'd connect any other tool: authenticate, approve permissions, select your target channels. The intelligence layer is configured separately in Steps 4 and 6.
For Zapier or Make middleware:
Create a new Zap or scenario. Set the trigger app to your helpdesk and the trigger event to something like "New Ticket Created" or "Ticket Updated." Authenticate your helpdesk account when prompted. Then set the action app to Slack, choose "Send Channel Message" as the action, and authenticate your Slack workspace. Map the helpdesk fields (ticket ID, subject, priority) to the Slack message format. Save and test.
The most common failure point across all three methods is insufficient permissions. If the integration installs but messages aren't appearing, check the OAuth scopes first. The integration needs to be able to post messages, not just receive webhook pings. Reviewing a broader set of customer support integration tools can help you identify which approach fits your stack before you commit.
Success indicator: The integration shows as "Connected" or "Active" in both platforms, and a test message appears in your designated Slack channel with the correct formatting.
Step 4: Configure Ticket Routing Rules and Notification Logic
This step is where most integrations either become genuinely useful or quietly get ignored. The difference is almost entirely in how you configure routing. If everything goes to Slack, nothing gets attention. If the right things go to Slack in the right format, your team will actually use it.
Start with routing rules. Define which tickets trigger a Slack notification and which don't. Useful filters include:
Priority level: Route high and urgent tickets to Slack immediately. Let low-priority tickets stay in the helpdesk queue until an agent picks them up during normal triage.
Ticket tags or categories: Route billing issues to one channel, technical bugs to another, and general questions to a third. This keeps each channel signal-clean and makes it easy for the right people to monitor the right conversations.
Customer tier: If you have enterprise or high-value customers, route their tickets to a dedicated channel regardless of priority. These customers often have SLA commitments that require faster response times.
Next, configure the message format. A Slack notification that just says "New ticket" is useless. Every notification should include, at minimum: the ticket ID, the customer name, a brief issue summary, the priority level, and a direct link back to the helpdesk ticket. Many native integrations use Slack's Block Kit to create structured message cards with this information clearly laid out. If you're using middleware, build this format manually in your message template.
Configure thread-based collaboration. Set up the integration so that when agents discuss a ticket in a Slack thread, those replies sync back to the ticket timeline in your helpdesk. This is important for audit trails and for agents who aren't monitoring Slack. The conversation should live in both places.
For AI-enhanced setups, this is where the workflow gets genuinely powerful. Configure your AI agent to handle Tier 1 tickets (common questions, password resets, status inquiries) autonomously without ever posting to Slack. Only escalate to Slack when the AI determines the issue requires human judgment. This single configuration change can dramatically reduce customer support response time while ensuring the tickets that do reach your team actually need their attention.
One practical tip if your integration supports Slack's interactive message components: map emoji reactions or action buttons to quick ticket actions. For example, a 👀 reaction marks the ticket as claimed, and a ✅ marks it resolved. This lets agents triage from Slack without opening the helpdesk at all for straightforward cases.
Success indicator: Submit a test ticket that matches your routing criteria and verify it appears in the correct Slack channel with the right format, including all expected fields and a working link back to the helpdesk.
Step 5: Enable Two-Way Sync So Agents Can Respond from Slack
Here's the honest truth about one-way Slack notifications: they're only marginally better than email alerts. Your agent sees the ticket, thinks "I should respond to that," and then has to open the helpdesk to actually do it. You've reduced context-switching by one click, maybe two. That's not the workflow transformation you're after.
Two-way sync is what makes this integration genuinely valuable. When it's working correctly, a reply posted in a Slack thread appears as an agent response on the ticket. A status change in the helpdesk (ticket closed, ticket escalated) updates the Slack thread. The two systems stay in sync without anyone manually updating both.
To enable bi-directional sync in native helpdesk integrations: Look for a setting labeled something like "Reply in Slack," "Sync replies," or "Two-way messaging" in your integration configuration. Enable it and map the Slack reply to the correct ticket field (typically the public reply field or the internal notes field, depending on your workflow).
The internal notes vs. public replies distinction is critical and often misconfigured. When agents discuss a ticket in Slack, some of that conversation is internal coordination ("I think this is a billing issue, can someone check Stripe?") and some of it is a response intended for the customer. Your integration needs a clear mechanism for distinguishing between the two. Understanding how support automation with Slack integration handles this distinction can save your team from costly misconfiguration.
Some integrations handle this with slash commands: typing /reply before a message sends it to the customer, while plain messages stay as internal notes. Others use separate thread sections or visual indicators. Whatever mechanism your integration uses, make sure every agent on your team understands it before you go live.
The failure mode here is serious. An agent types "I have no idea what this customer is talking about, let me dig into the account" as an internal comment, and it goes out to the customer as a public reply. That's not a hypothetical; it's a real pattern that happens when teams skip this configuration step.
For platforms with full native Slack support: Test the complete round-trip before you consider this step done. Post a reply in Slack, verify it appears on the ticket in your helpdesk, and verify it was sent to the customer (or saved as an internal note, depending on what you intended). Then test the reverse: update the ticket status in the helpdesk and verify the Slack thread reflects the change.
Success indicator: Reply to a test ticket from Slack, confirm the response appears correctly on the ticket in your helpdesk, and verify it was routed to the right destination (customer-facing or internal note) based on your configured mechanism.
Step 6: Add Automation Layers to Reduce Manual Triage
With the core integration running, you have a functional Slack customer support workflow. Now let's make it intelligent. The difference between a good integration and a great one is usually the automation layer built on top of it.
Auto-assign tickets to the right channels based on context. Rather than manually tagging tickets or relying on agents to notice which channel a ticket should be in, configure rules that route automatically based on product area, customer tier, or issue type. A ticket tagged "billing" goes to #support-billing. A ticket from an enterprise customer goes to #enterprise-support. This happens without anyone making a decision.
Set up SLA breach alerts. If a high-priority ticket hasn't been claimed within a defined window, post a follow-up ping in the channel or escalate to a manager channel automatically. This is the safety net that catches tickets that slip through during busy periods. Configure it as a time-based trigger: if ticket status remains "open" and no agent has been assigned after X minutes, fire the alert.
For teams using AI support agents, this step is where the workflow transforms most significantly. Configure the AI to resolve common, well-understood tickets entirely autonomously. Password resets, order status inquiries, basic how-to questions, billing clarifications that follow a standard pattern. These never need to reach Slack at all. The AI resolves them, the customer gets an answer, and your agents only see the tickets that genuinely require human judgment. This is the foundation of automating customer support tickets at scale.
This isn't just about reducing volume. It's about signal quality. When every ticket that reaches Slack is one the AI couldn't resolve on its own, your team's Slack channels become genuinely high-value queues rather than firehoses of mixed-priority noise.
Set up automated bug ticket creation. When an agent identifies a bug in a Slack thread, they shouldn't have to manually open Linear or Jira and create a ticket. Configure an automation that lets agents trigger bug report creation directly from the Slack thread, with the relevant context (customer description, ticket link, reproduction steps) pre-populated. Halo's integration layer supports this natively, connecting Slack threads to Linear bug tickets without requiring agents to context-switch to a third tool. Teams looking to deepen this workflow can explore customer support with bug tracking integration for more advanced patterns.
To verify this step is working, run through three distinct scenarios before you call the setup complete:
1. Simple FAQ ticket: Submit a common question. Verify the AI resolves it autonomously without posting to Slack.
2. Complex issue requiring human judgment: Submit something that requires account context or nuanced decision-making. Verify it routes to the correct Slack channel with the right format and priority.
3. Bug report: Submit a ticket describing a product bug. Verify the automated bug ticket creation fires and the Linear (or Jira) ticket is created with the correct information.
Success indicator: All three scenarios follow their correct automated paths without manual intervention from your team.
Your Slack Support Integration Checklist
You've covered a lot of ground. Here's a quick recap of what you've built and the milestones that confirm each step is done.
Step 1 complete: Integration model selected (native, middleware, or AI-native), tools identified, admin access confirmed.
Step 2 complete: Dedicated Slack channels created for different ticket types, API credentials documented, admin access confirmed on both platforms.
Step 3 complete: Integration installed and authorized, correct OAuth permissions granted, test message confirmed in designated Slack channel.
Step 4 complete: Routing rules configured by priority and type, message format includes all required fields, thread-based collaboration enabled.
Step 5 complete: Two-way sync enabled, internal notes vs. public replies mechanism configured and tested, full round-trip verified.
Step 6 complete: Auto-assignment rules live, SLA breach alerts configured, AI autonomous resolution handling Tier 1 tickets, bug ticket creation automated.
The goal of this setup was never just to get Slack notifications. It was to build a support workflow where agents stay in flow, tickets don't fall through the cracks, and automation handles the repetitive volume so your team can focus on the work that actually requires their expertise.
Teams using AI-native platforms get the most from this architecture because Slack becomes one intelligent node in a broader support ecosystem rather than a passive alert channel. Every interaction the AI handles teaches it to handle the next one better. Every escalation to Slack is a genuine signal, not noise.
Your support team shouldn't scale linearly with your customer base. Let AI agents handle routine tickets, guide users through your product, and surface business intelligence while your team focuses on complex issues that need a human touch. See Halo in action and discover how continuous learning transforms every interaction into smarter, faster support.