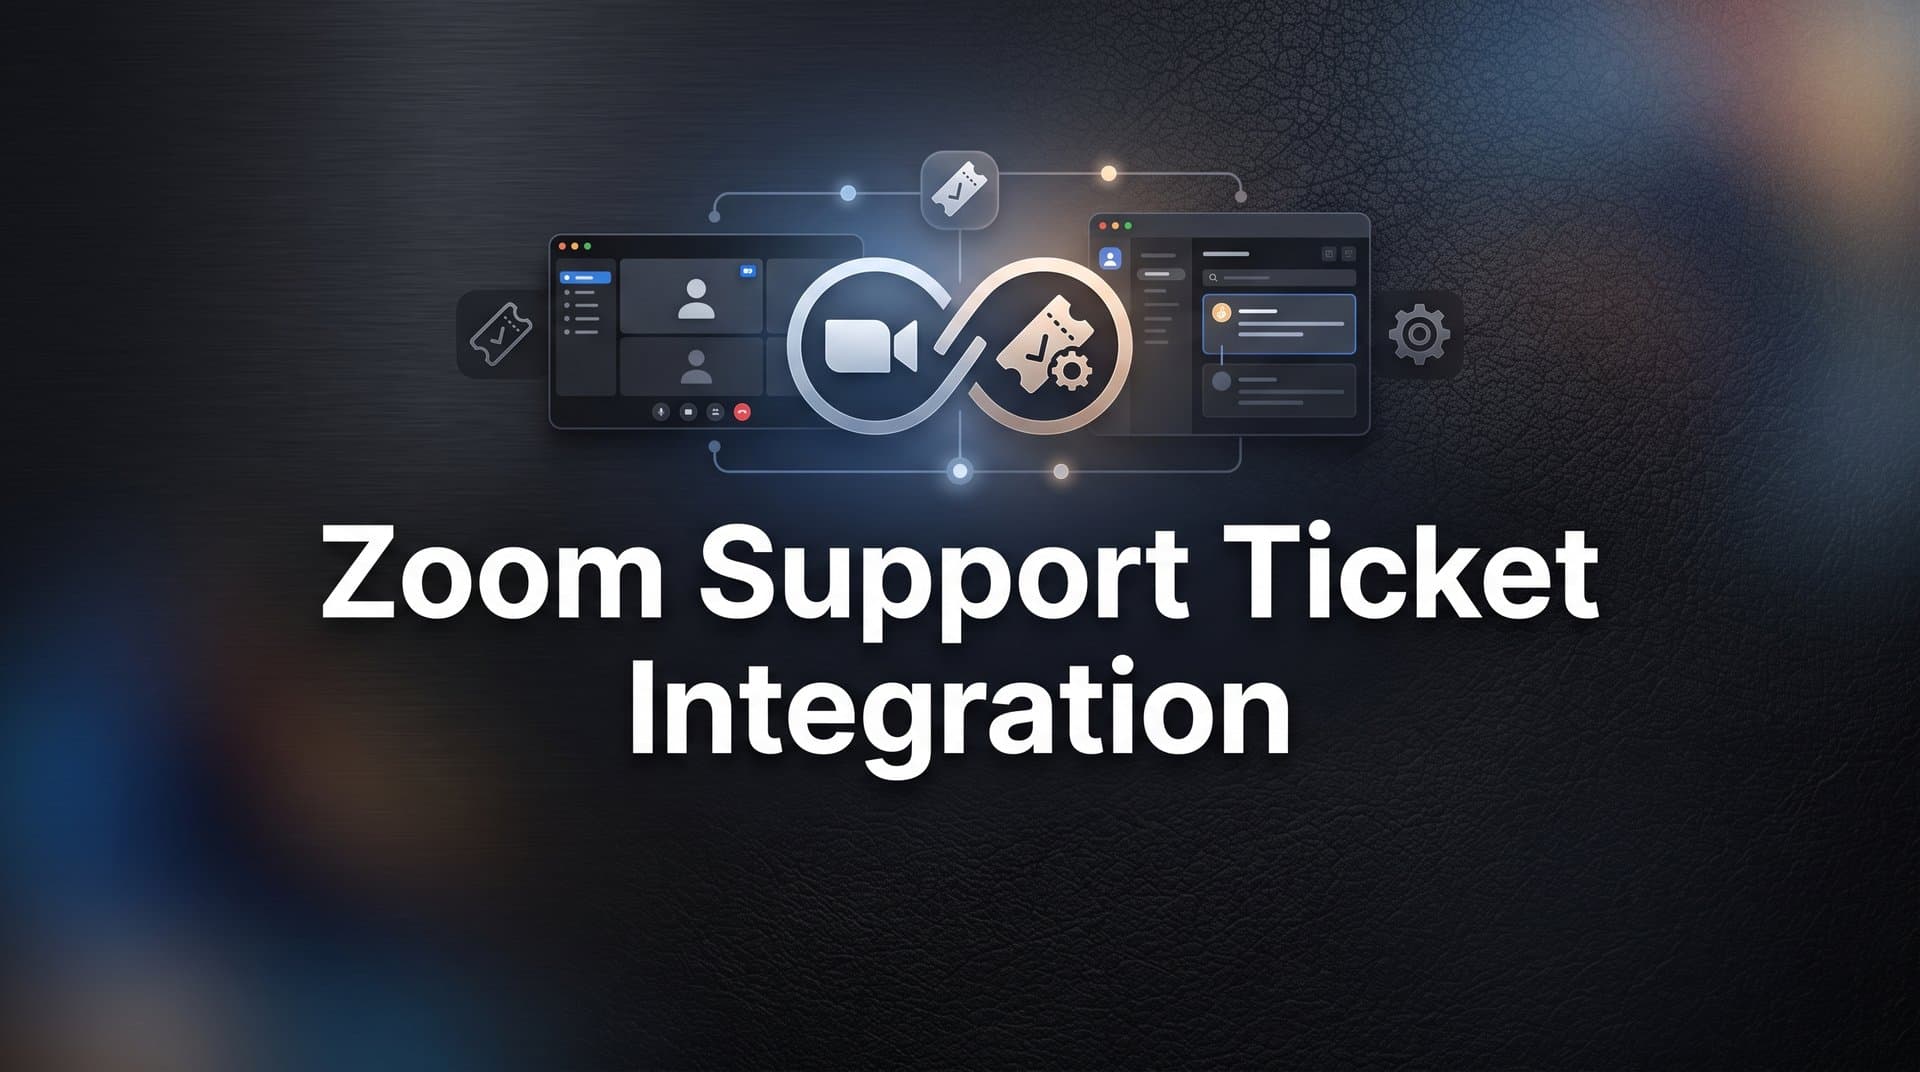
How to Set Up Zoom Support Ticket Integration: A Step-by-Step Guide
Zoom support ticket integration automatically bridges your video calls with your ticketing system, capturing critical context like error messages, screen shares, and root causes before they're lost when the call ends. This step-by-step guide shows support teams of all sizes how to connect Zoom to their helpdesk infrastructure for faster resolution times, richer ticket data, and a better customer experience.
When a customer jumps on a Zoom call to troubleshoot an issue, that conversation is packed with context. Error messages, screen shares, emotional signals, root causes — it's all there in real time. But when the call ends, most of that intelligence disappears.
Support agents scramble to reconstruct what happened. Tickets get created with incomplete information. The next agent who touches the issue starts from scratch, and the customer has to repeat themselves all over again. Sound familiar?
This is the hidden cost of disconnected support workflows. Zoom support ticket integration solves it by automatically bridging your video conversations with your ticketing system, so every call becomes a structured, searchable, actionable record rather than a fading memory.
Whether you're running a lean startup support team or managing enterprise-scale helpdesk operations, connecting Zoom to your support infrastructure means faster resolution times, richer ticket context, and no more "what did we discuss on that call?" moments.
In this guide, you'll learn exactly how to set up Zoom support ticket integration from start to finish. We'll cover choosing the right integration approach, configuring your Zoom account, connecting it to your ticketing system, mapping call data to ticket fields, automating ticket creation from call events, and validating the whole workflow.
By the end, your team will have a live pipeline where Zoom call data flows directly into support tickets — automatically, accurately, and with full context intact. Let's get into it.
Step 1: Choose Your Integration Approach
Before you touch a single setting, you need to decide how you're going to connect Zoom to your ticketing system. There are three main approaches, and picking the wrong one upfront means rework later.
Native helpdesk marketplace integrations: If you're already running Zendesk, Freshdesk, or Intercom, check their app marketplaces first. These platforms often have official Zoom apps that handle authentication and basic data sync out of the box. Setup is fast, maintenance is low, and the integration is officially supported. The tradeoff is limited customization — you get what the marketplace app offers, nothing more.
Middleware platforms (Zapier or Make): These give you flexibility to connect Zoom to almost any ticketing system. You build custom workflows using pre-built connectors, and you can add logic, filters, and transformations. The catch is that many middleware Zoom connectors only sync basic metadata like meeting duration and attendee names. Transcript and recording data — which contains the real support value — often requires additional configuration or isn't available at all.
AI-native support platforms with built-in Zoom connectivity: Platforms like Halo AI treat Zoom as a first-class integration rather than an afterthought. The connection isn't just a data pipe — it's an intelligence layer. Call transcripts get parsed automatically, issue summaries are extracted, bug signals are detected, and tickets are enriched with structured context rather than raw text dumps. Zoom call data also feeds into broader customer health signals and business analytics, not just individual tickets.
The right choice depends on your current stack and what data you actually need to capture. Here's the hierarchy of Zoom data, from most to least valuable for support workflows:
1. Transcript text — contains the actual issue description, error messages, and resolution steps discussed on the call
2. Recording URL — allows future agents to review the full call when context matters
3. Call metadata (duration, attendees, host) — useful for reporting, routing, and SLA tracking
4. Meeting topic — often used as the ticket subject line
Before selecting your method, document exactly which of these data points you need. A common pitfall is choosing a middleware tool for its simplicity, then discovering it only syncs metadata while transcript and recording data — the fields that actually help agents resolve issues — never make it into the ticket.
Decision checkpoint: write down your required fields now. This single step prevents the frustration of rebuilding your support integration workflow from scratch after go-live.
Step 2: Prepare Your Zoom Account and API Access
With your integration approach selected, it's time to get your Zoom account ready. This step requires admin-level access to your Zoom account, so make sure you're logged in with the right credentials before you start.
Start at the Zoom App Marketplace at marketplace.zoom.us. This is where you'll manage app installations and API credentials depending on your chosen approach.
Enable cloud recording. This is non-negotiable for transcript and recording sync. Navigate to Account Management → Account Settings → Recording → Cloud Recording and toggle it on. Without this, Zoom only stores recordings locally on the host's device, and your integration won't be able to access them.
One important note: cloud recording requires a paid Zoom plan. Pro, Business, and Enterprise plans all support it. The Basic (free) plan does not. Many teams discover this after spending time on setup, so verify your plan before going further.
Enable automatic transcription. Within the Cloud Recording settings, find the option labeled "Audio transcript" and enable it. This is what populates your ticket descriptions with actual call content rather than just metadata. Without transcription, you're capturing that a call happened but not what was said during it.
Set your cloud recording retention period. Zoom's default retention settings vary by plan. Set your retention to at least 30 days to ensure recordings remain accessible when tickets need to reference them. Support issues often resurface weeks after the original call, and you want the recording available when they do.
Configure API credentials if needed. If you're building a direct API integration or using a middleware platform, you'll need OAuth app credentials. Navigate to Develop → Build App → OAuth in the Zoom Marketplace and create a new app. Configure the following scopes:
1. meeting:read:admin — allows reading meeting details and attendee information
2. recording:read:admin — allows accessing cloud recordings and transcripts
3. user:read:admin — allows reading user profile data for host identification
If you're using a native helpdesk marketplace app or an AI-native platform like Halo AI, you'll authorize via an OAuth flow rather than managing credentials manually. This is simpler and handles scope configuration automatically — you just click "Authorize" and the platform requests the permissions it needs.
One timing detail worth knowing: after a Zoom call ends, there's a processing delay before transcript data is available. The meeting ended webhook fires immediately, but the transcript typically takes between 5 and 15 minutes to process. Build this into your expectations when testing the support platform integration later.
Step 3: Connect Zoom to Your Ticketing System
Now comes the actual connection. The process varies depending on your ticketing system, so follow the path that matches your stack.
Zendesk: Navigate to the Zendesk Marketplace from your admin panel and search for "Zoom." Install the official Zoom for Zendesk app and follow the OAuth authorization flow using your Zoom admin credentials. Once authenticated, the app will appear in your Zendesk sidebar, and you can configure which Zoom events trigger actions within Zendesk.
Freshdesk: Go to Admin → Apps → Get More Apps in your Freshdesk account, or visit the Freshworks Marketplace directly. Search for the Zoom integration, click install, and complete the OAuth authorization. Freshdesk's integration allows you to initiate Zoom calls from within tickets and log call activity back to the ticket record.
Intercom: In the Intercom App Store, locate the Zoom integration and install it. You'll configure which conversation events should trigger Zoom-related actions. Intercom's integration is particularly useful for teams that use Intercom as their primary customer communication layer and want Zoom calls to stay connected to conversation threads.
Halo AI: Zoom is listed as a first-class integration in Halo's connection settings. Authenticate once through the OAuth flow and the platform handles data mapping, transcript ingestion, and ticket enrichment automatically. Unlike marketplace connectors that require manual field mapping, Halo's AI layer processes the transcript and structures the ticket content intelligently.
Middleware (Zapier or Make): Create a new Zap or Scenario with Zoom as the trigger app. Select "Meeting Ended" as your trigger event and authenticate your Zoom account. Then add your helpdesk as the action app and authenticate that account as well. You'll configure the specific actions (create ticket, update ticket, add note) in the following steps.
After completing the connection, test it immediately. Schedule a short Zoom meeting, end it, and verify that the event appears in your integration logs, trigger history, or the connected platform's activity feed. Don't wait until full configuration is complete to validate the connection — catching authentication issues early saves significant troubleshooting time.
The most common pitfall at this stage is OAuth scopes that are too narrow. If ticket creation fails silently after setup, check that your Zoom app has recording:read:admin enabled, not just meeting:read. Many default OAuth flows request minimal scopes, and recording access often needs to be explicitly added.
Step 4: Map Zoom Call Data to Ticket Fields
This is the most critical configuration step, and it's where most integrations fall short. Getting the connection working is one thing; making sure the right data lands in the right ticket fields is what determines whether agents actually find the integration useful.
Start by defining your core field mappings. Here's the standard configuration that works well for most support teams:
Meeting Topic → Ticket Subject: The meeting topic becomes the ticket title. Encourage your team to name Zoom meetings descriptively when scheduling support calls — "Account sync issue - Acme Corp" creates a much more useful ticket than "Zoom Meeting."
Meeting Duration → Custom Field (Call Duration): Useful for SLA reporting and understanding which issues require longer resolution discussions.
Host Email → Ticket Assignee: Automatically assigns the ticket to the agent who ran the call, ensuring continuity between the conversation and the follow-up work.
Attendee List → CC or Related Contacts: Keeps all participants informed on ticket updates without manual CC addition.
Transcript → Ticket Description or Internal Note: This is the highest-value mapping. For AI-native platforms, the transcript gets parsed intelligently to extract an issue summary, key points discussed, and action items. For other integration methods, the raw transcript text is attached — functional, but less readable for agents picking up the ticket later.
Recording URL → Ticket Attachment or Custom Field: Ensures any agent can review the full call without hunting through Zoom's recording library.
If you're using a middleware tool like Zapier or Make, add a text parsing step between your Zoom trigger and your helpdesk action. Zapier's Formatter or Make's Text Parser module can extract key sentences from the transcript before it maps to the ticket description, preventing a wall of raw text from landing in your ticket queue.
For teams on AI-native platforms, consider configuring priority rules based on transcript content. If the transcript contains terms like "urgent," "down," "not working," or "data loss," configure the integration to automatically set ticket priority to High. This removes the need for agents to manually triage call-originated tickets — a key part of intelligent support ticket prioritization.
Add a tag strategy as well. Apply a "zoom-call" tag to every ticket created from a Zoom event. This makes filtering, reporting, and analyzing call-originated tickets straightforward — you can quickly see resolution times, agent performance, and issue frequency for tickets that started as live calls versus those submitted through other channels.
Verification step: after configuring your mappings, run a test call that covers multiple scenarios — mention a specific error message, discuss a timeline, and confirm a next step. Then check the resulting ticket and verify every mapped field populated correctly. Fix any empty or malformed fields before going live.
Step 5: Automate Ticket Creation Triggers
With your field mappings in place, you need to configure when and how tickets get created automatically. The goal is reliable automation that captures every relevant support call without flooding your queue with tickets from internal team meetings.
Choose your trigger event. "Meeting Ended" is the most common choice because it fires immediately when a call concludes, giving agents a ticket to work from right away. The alternative is "Recording Completed," which fires when Zoom finishes processing the cloud recording. This ensures the recording URL is ready when the ticket is created, but adds a few minutes of delay. For most teams, "Meeting Ended" with the recording URL added asynchronously once processing completes is the right balance.
Add conditional filters to avoid ticket noise. This is where most teams go wrong. Without filtering, your integration creates a ticket for every Zoom meeting across the company — all-hands calls, team standups, sales demos. Scope your triggers using one or more of these conditions:
1. Host group filter: Only create tickets when the meeting host belongs to your Zoom "Support Team" group. This is the cleanest approach and requires minimal ongoing maintenance.
2. Meeting topic keywords: Only create tickets when the meeting topic contains words like "support," "help," "issue," or "troubleshoot." Useful if your support team uses Zoom for non-support calls as well.
3. Meeting duration threshold: Only create tickets for calls longer than a minimum duration (e.g., 3 minutes) to filter out accidental connections and test calls.
Configure follow-up automation. When a ticket is created from a Zoom call, trigger an automatic email to the customer summarizing what was discussed and including the recording link. This closes the loop for the customer without requiring the agent to write a follow-up manually.
Set up escalation rules. If your transcript analysis detects sentiment indicators suggesting frustration or an unresolved issue — phrases like "this is still broken," "I'm really frustrated," or "we're losing revenue" — configure the ticket to auto-escalate to a senior agent or flag it in your support inbox for immediate review.
Enable bug detection automation. Configure a rule where transcripts containing phrases related to product errors or unexpected behavior automatically create a linked bug ticket in your engineering tracker. If you're using Halo AI, this happens natively — the AI agent reviews the transcript, identifies bug signals, and creates a structured bug report in Linear or Jira without manual intervention. For other setups, use keyword triggers in your middleware workflow to route bug-related calls to your engineering pipeline.
The payoff from well-configured triggers is significant. Agents stop spending time logging calls and start spending time resolving issues. The workflow handles the administrative overhead automatically, and your ticket queue becomes a reliable record of every support conversation that happened.
Step 6: Test, Validate, and Train Your Team
Before rolling out to your full support team, run three end-to-end test scenarios. Each one should test a different part of your workflow, and all three should pass before you go live.
Test Scenario 1: Standard support call. Run a typical support call where an issue is identified and resolved. Verify that a ticket is created within 5 minutes of call end, all mapped fields populate correctly, the recording URL is accessible, the transcript is attached, the correct assignee is set, and the "zoom-call" tag is applied.
Test Scenario 2: Unresolved issue requiring escalation. Run a call where you explicitly use language like "this isn't fixed yet" and "I'm still seeing the error." Verify that your escalation rules trigger correctly and the ticket is routed to the appropriate senior agent or flagged for review.
Test Scenario 3: Bug report call. Mention specific product errors and unexpected behavior during the call. Verify that your bug detection automation fires and creates a linked ticket in your engineering tracker with the relevant transcript context included.
Use this validation checklist for each test scenario:
1. Ticket created within 5 minutes of call end
2. All mapped fields populated correctly (no empty required fields)
3. Recording URL accessible from within the ticket
4. Transcript attached or summarized in ticket description
5. Correct assignee and priority set
6. Tags applied as configured
7. Follow-up email sent to the customer (if configured)
Also check for duplicate ticket creation. If a customer already has an open ticket and a Zoom call occurs, your integration should either link to the existing ticket or create a child ticket — not generate a duplicate. Test this scenario explicitly if your support workflow commonly involves follow-up calls on existing issues.
Train your team before launch. The key behavior change agents need to understand is this: Zoom-originated tickets will appear automatically in their queue with full context already populated. Agents should review the transcript summary before responding rather than asking the customer to repeat what was discussed on the call. That context is already there.
Create a brief internal reference document covering three things: how to find the Zoom recording link within a ticket, how to add post-call notes to the ticket record, and how to manually trigger ticket creation if the automation fails for any reason. Keep it short — a single page is enough.
Monitor the integration closely for the first two weeks. Check daily that tickets are being created for the right calls, flag any missed calls or incorrect field mappings, and refine your trigger conditions based on real usage patterns. The success indicator is simple: your team stops manually creating tickets after support calls. When that happens, the workflow is doing its job.
Your Integration Is Live: What Comes Next
Setting up Zoom support ticket integration transforms one of your most information-rich customer touchpoints into structured, actionable data that your entire team can work from. Once this workflow is live, every call automatically generates a ticket with full context: who was on the call, what was discussed, how long it took, and what needs to happen next.
The result is faster handoffs, better continuity between agents, and no more context lost when a customer moves from a Zoom call to a follow-up email thread.
Here's your quick-start checklist before going live:
1. Integration approach selected based on your current stack
2. Zoom cloud recording and automatic transcription enabled
3. OAuth connection established between Zoom and your helpdesk
4. Field mappings configured and verified with a test call
5. Trigger conditions scoped to support team meetings only
6. Three test scenarios validated successfully
7. Team trained on the new workflow and reference doc distributed
If you're looking for an integration that goes beyond basic ticket creation — one where AI agents analyze call transcripts, draft initial responses, detect bug reports, and route issues intelligently — Halo AI's Zoom integration is built for exactly that. It's not a connector; it's an intelligence layer that makes every customer conversation count.
Your support team shouldn't scale linearly with your customer base. Let AI agents handle routine tickets, guide users through your product, and surface business intelligence while your team focuses on complex issues that need a human touch. See Halo in action and discover how continuous learning transforms every interaction into smarter, faster support.